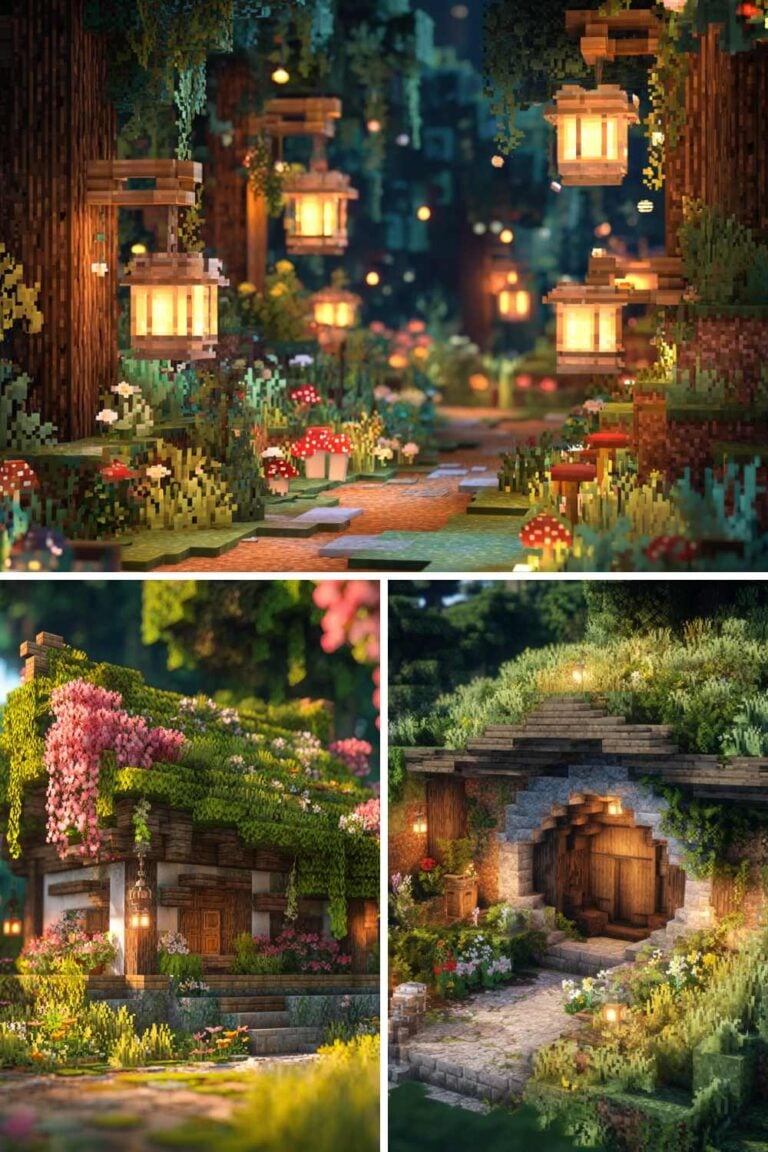
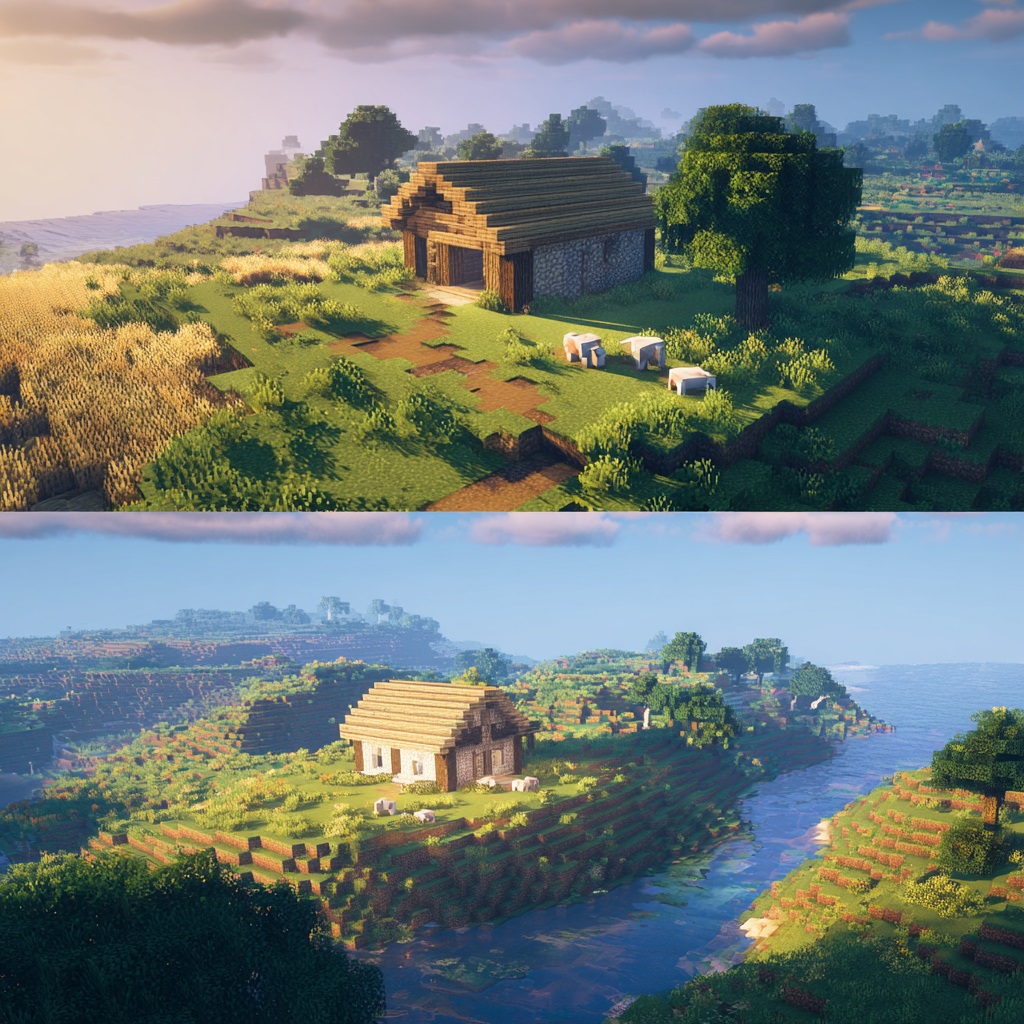
How to build a Minecraft Starter house step by step
Affiliate Disclosure
This post contains affiliate links. Pixels and Bloom may earn a commission when you purchase through these links, at no additional cost to you. All opinions are our own and we only recommend products we believe will genuinely benefit our readers.
I still remember my very first night in Minecraft. The sun was dropping fast and I had no idea what I was doing, and I panic-built a tiny wooden box on the nearest patch of dirt I could find. No windows. No proper roof. Just a door, a crafting table, and torches everywhere. I could hear zombies groaning outside and a skeleton rattling somewhere in the dark.
It wasn’t pretty, but it kept me alive.
That’s the thing about early survival in Minecraft. The first few minutes set the tone for your entire world. You’re racing against daylight, gathering wood, crafting tools, and trying to build something, anything before hostile mobs spawn. And while it’s tempting to throw together a quick dirt hut and promise yourself you’ll “upgrade it later,” building a solid starter house from the beginning makes a huge difference.
A good starter house isn’t just shelter. It’s your first base of operations. It’s where you’ll store your early resources, smelt your first iron, place your bed to lock in your spawn point, and slowly expand as your world grows. With the right layout and smart planning, that small starter build can evolve into a long-term survival base instead of something you abandon after day three.
In this step-by-step guide, I’ll walk you through exactly how to build a practical, good-looking Minecraft starter house, even if you’re brand new. You’ll learn:
- The essential early-game materials you actually need
- How to choose the best location
- A simple, beginner-friendly layout that works every time
- Roof and design tips to avoid the “wooden box” look
- Easy upgrades to future-proof your base
Whether this is your first survival world or your fifteenth, this guide will help you build smarter from day one so your next first night feels a lot less chaotic and a lot more controlled.
Materials You’ll need for your Minecraft Starter house
Before you start building your starter house in Minecraft, you’ll need to gather a few basic materials. The good news is that most of these resources can be collected during your first day in Survival Mode, especially if you start gathering immediately after spawning into the world.
Your goal is to collect enough materials to build a small, safe shelter before night arrives. During the night, hostile mobs begin spawning, so having the right resources ready will allow you to build quickly and stay protected.
Below are the key materials you should gather before beginning construction.
Basic Materials for building your Minecraft starter house
These are the essential materials needed to build a simple but functional starter house.
40–60 Wood Logs
Wood logs are one of the most important resources in the early game. You can obtain them by punching or chopping down trees. Once collected, logs can be converted into wooden planks, which are used for floors, walls, and roofs. Gathering 40–60 logs ensures you have enough wood for the entire build as well as extra for crafting tools and items.
Wooden Planks
Wooden planks are created by placing wood logs into the crafting grid. They are one of the most versatile building blocks in the game. You’ll use them to build the floor, walls, roof, and other structural parts of your house. Planks can also be crafted into other items like doors, chests, and crafting tables.
20–30 Cobblestone
Cobblestone is another important building material. It is obtained by mining regular stone blocks with a pickaxe. Cobblestone is stronger than wood and can be used for parts of the foundation, walls, or decorative accents. It is also required to craft items such as a furnace and better tools.

Glass Blocks (Optional but Recommended)
Glass blocks are created by smelting sand in a furnace. While they are technically optional, they are highly recommended for making windows. Windows allow light into your house and let you see outside while staying protected from hostile mobs.
1 Wooden Door
A door is essential for entering and leaving your house safely. Without a door, mobs could easily walk into your home. A wooden door is crafted using wooden planks and can be opened or closed quickly when entering or exiting.
Torches
Torches provide light and are extremely important for survival. In Minecraft, hostile mobs spawn in dark areas. By placing torches inside and around your house, you prevent mobs from spawning nearby. Torches are crafted using sticks and coal or charcoal.
1 Crafting Table
The crafting table expands your crafting grid from 2×2 to 3×3, allowing you to create more advanced items. This is one of the first items every player crafts and should be placed inside your house so you can easily craft tools, furniture, and building materials.
1 Bed
Beds allow you to sleep through the night and skip directly to morning. They also set your spawn point, meaning if you die, you will respawn at your house instead of the world spawn location. Beds require wool from sheep and wooden planks to craft.
1 Furnace
A furnace is used to smelt and cook materials. You’ll use it to turn sand into glass, cook food, and smelt ores like iron. Furnaces are crafted using cobblestone and are an essential part of any starter base.
1 Chest
A chest provides storage for the items you collect during your adventures. Inventory space fills up quickly in Minecraft, so having a chest in your house helps keep your resources organized and safe.
Optional Decoration Materials
Once your basic house is complete, you may want to add a few decorative elements to improve its appearance. These materials are not required for survival but can make your starter house feel more like a real home.
Fences
Fences can be used to create a small yard around your house or protect farms and animals. They also add visual detail to the exterior of your base.
Lanterns
Lanterns provide stronger and more attractive lighting compared to torches. They are perfect for decorating both the inside and outside of your house.
Flower Pots
Flower pots allow you to place flowers, plants, or small decorations inside your home. They are a simple way to make the interior feel more lively.

Wooden Stairs (for the Roof)
Wooden stairs are often used to build sloped or triangular roofs. Using stairs instead of flat blocks can make your starter house look more detailed and realistic.
Trapdoors for Decoration
Trapdoors can be used creatively as shutters, table surfaces, or decorative accents around windows and doors.
If you spend your first few minutes gathering wood, stone, and coal, you should have everything needed to complete your starter house before the first night begins in Minecraft.
A good strategy is to collect materials early in the day, craft the necessary tools, and begin building your shelter by the afternoon. This way, you’ll have a safe and comfortable base ready before darkness falls and hostile mobs appear.
How to build a Minecraft Starter house step by step
Step 1: Choose the Perfect Location
Before placing your first block, it’s important to find a good location for your starter house in Minecraft. The right location can make survival much easier, especially during your first few days in the game.
A well-chosen spot will give you easy access to resources, keep you safer from mobs, and make it easier to expand your base later.
Here are some key things to consider when selecting a building location.
Build Near Trees and Animals
Trees are one of the most valuable resources early in the game because they provide wood logs, which can be crafted into planks, sticks, tools, and many other items. Building your house near a forest or a group of trees ensures you’ll always have easy access to wood.
Animals are also very useful to have nearby. Cows, sheep, chickens, and pigs provide food and important materials like leather and wool. Sheep are especially important early on because you need wool to craft a bed, which allows you to skip the night.
When your house is close to these resources, you’ll spend less time traveling and more time building and exploring.
Avoid Caves or Monster Spawn Areas
Caves might look interesting when you first explore your world, but they can be dangerous places to build near. Hostile mobs often spawn inside dark caves and can easily wander out at night.
If your house is too close to a cave entrance, you may find zombies, skeletons, or creepers appearing nearby more frequently. This can make your base harder to defend, especially early in the game when you have limited armor and weapons.
It’s safer to build in an open area where you can clearly see approaching mobs.
Choose Flat Land
Flat land makes building much easier and faster. When the ground is level, you won’t have to spend extra time clearing blocks or adjusting your structure to match uneven terrain.
Plains biomes are often ideal locations for starter houses because they provide large, open areas that are perfect for building. Flat terrain also makes it easier to add farms, animal pens, or additional buildings later on.
Build Near Water if Possible
Having a water source close to your house can be very helpful. Water is useful for farming crops like wheat, carrots, and potatoes, which require hydrated soil to grow efficiently.
Water can also be used for fishing, transportation, and certain building designs later in the game. Even a small pond or river near your base can be very convenient.
Once you find a location that includes several of these advantages—near trees, animals, flat land, and possibly water—you’re ready to begin building your starter house.
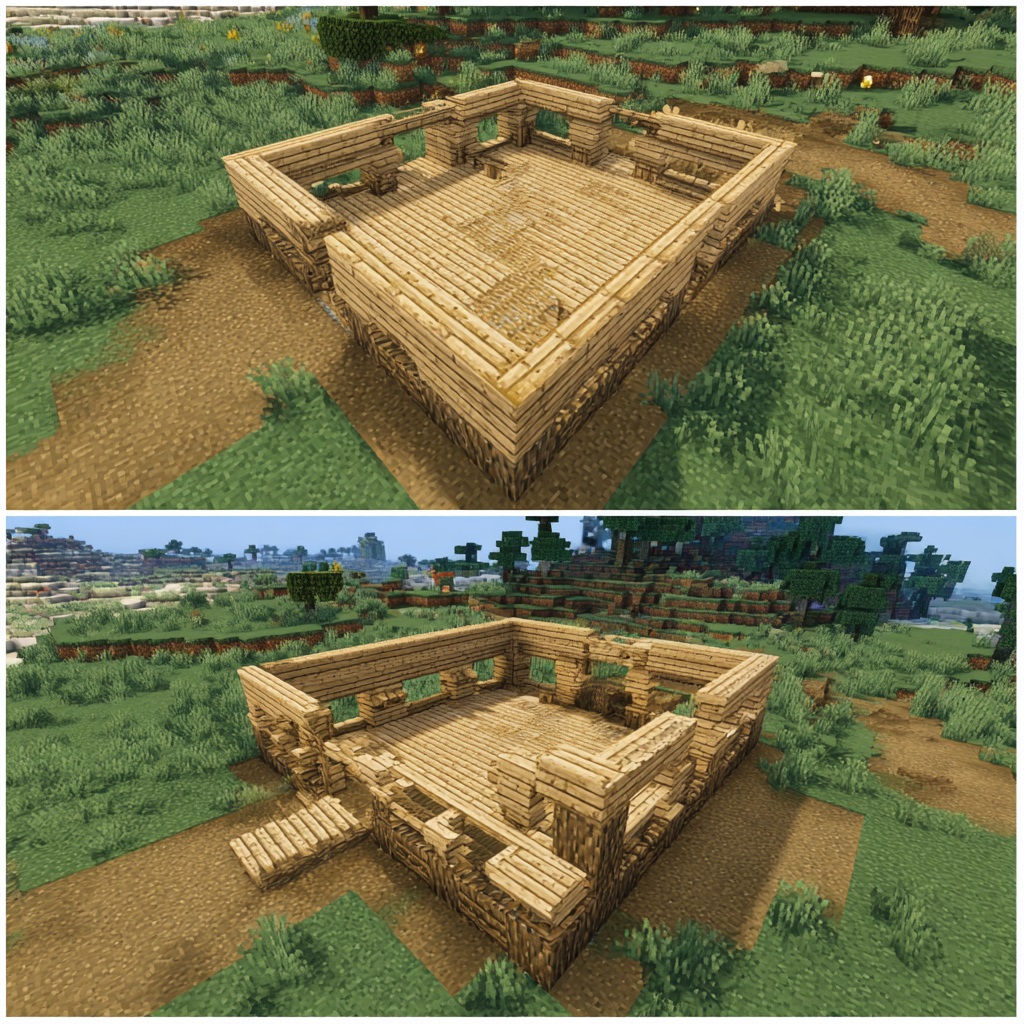
Step 2: Build the Foundation
The foundation is the base of your house and determines its overall size and shape. For a beginner-friendly starter house, it’s best to keep the design simple and compact.
A good size for a starter house is either a 7×7 or 9×9 square foundation. This size provides enough room for essential items like a bed, crafting table, furnace, and storage chest while still being quick to build.
How to Build the Foundation
Start by clearing any grass, plants, or uneven blocks from the area where you want to build. Once the ground is clear, begin placing your foundation blocks.
- Choose your building material. Wooden planks are common for floors, but cobblestone can also work well for a sturdier base.
- Place blocks in a square shape measuring 7 blocks by 7 blocks or 9 blocks by 9 blocks.
- Fill in the entire square to create a solid floor.
When planning the layout, remember to leave a one-block gap where the entrance will be. This space will later be used to place your door.
A simple square foundation makes the rest of the building process much easier and gives your house a clean, organized structure.
Step 3: Build the Walls
Once your foundation is complete, the next step is to build the walls that will protect you from the dangers outside.
Walls form the main structure of your house and keep hostile mobs from entering. For a starter house, the walls should usually be about four blocks high. This height gives you enough interior space while still keeping the build simple and resource-efficient.
Building the Walls
Start by placing blocks along the edges of the foundation you created. Continue stacking blocks upward until the walls reach four blocks in height.
While building, remember to leave small openings where your windows will go. These openings will later be filled with glass blocks so you can see outside while staying safe inside.
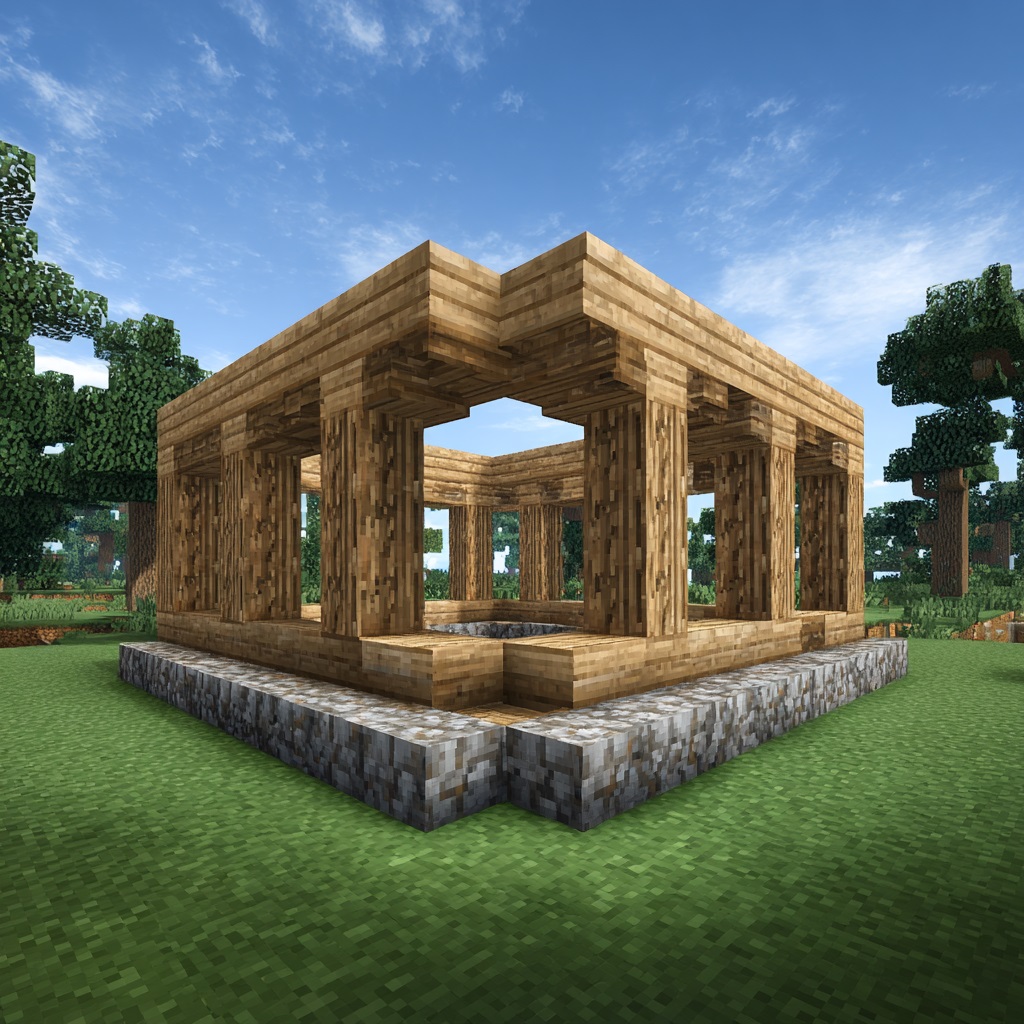
Mixing Materials for a Better Look
Although you can build the entire house using one material, mixing different block types often creates a much more interesting design.
For example, you could:
- Use wooden planks for most of the walls
- Place wood logs at the corners of the house
- Add cobblestone along the bottom row for a strong foundation look
This combination not only makes the house look better but also adds a bit of variety to the structure.
Once the walls are complete and the window spaces are prepared, your starter house will begin to take shape, and you’ll be ready to move on to adding doors, windows, and a roof.
Step 4: Add Windows and a Door
Now that the walls of your house are complete, it’s time to add windows and a door. These features make your house functional and comfortable while also improving safety. In Minecraft, proper lighting and secure entrances are very important for survival.
Windows allow natural light to enter your house and make it easier to see what’s happening outside. A door lets you safely enter and exit your home without leaving an open gap where mobs can wander in.
How to Add Windows and a Door
Follow these simple steps to finish the outer structure of your house.
1. Place glass blocks in the window spaces
Earlier, you left small openings in your walls for windows. Now you can fill those spaces using glass blocks. Glass is created by smelting sand in a furnace.
Glass windows allow you to see outside while still protecting you from hostile mobs. They also make the house feel less closed-in and more realistic.
2. Add a wooden door at the entrance
Next, place a wooden door in the opening you left at the front of the house. Doors are crafted using wooden planks and can be opened or closed with a right-click.
A door keeps mobs from walking directly into your house while still giving you quick access when entering or leaving.
3. Place torches inside the house
Lighting is extremely important in Minecraft. Hostile mobs spawn in dark areas, so placing torches inside your house prevents enemies from appearing indoors.
Place torches on the walls or corners of the house to fully light the interior. This keeps your home safe and easy to see in at night.
Once the windows, door, and lighting are installed, your house will already feel much safer and more complete.
Step 5: Build the Roof
With the walls finished, the next step is to build a roof. A roof protects the inside of your house from mobs dropping in and completes the overall structure of your build.
There are two simple roof styles that work well for beginner houses.
Option 1: Flat Roof (The Easiest Option)
The flat roof is the fastest and simplest design.
To build a flat roof:
- Place wooden planks across the top of your walls.
- Cover the entire ceiling area until the house is sealed.
- Make sure there are no gaps where mobs could fall inside.
This design works perfectly if night is approaching and you need a quick shelter.
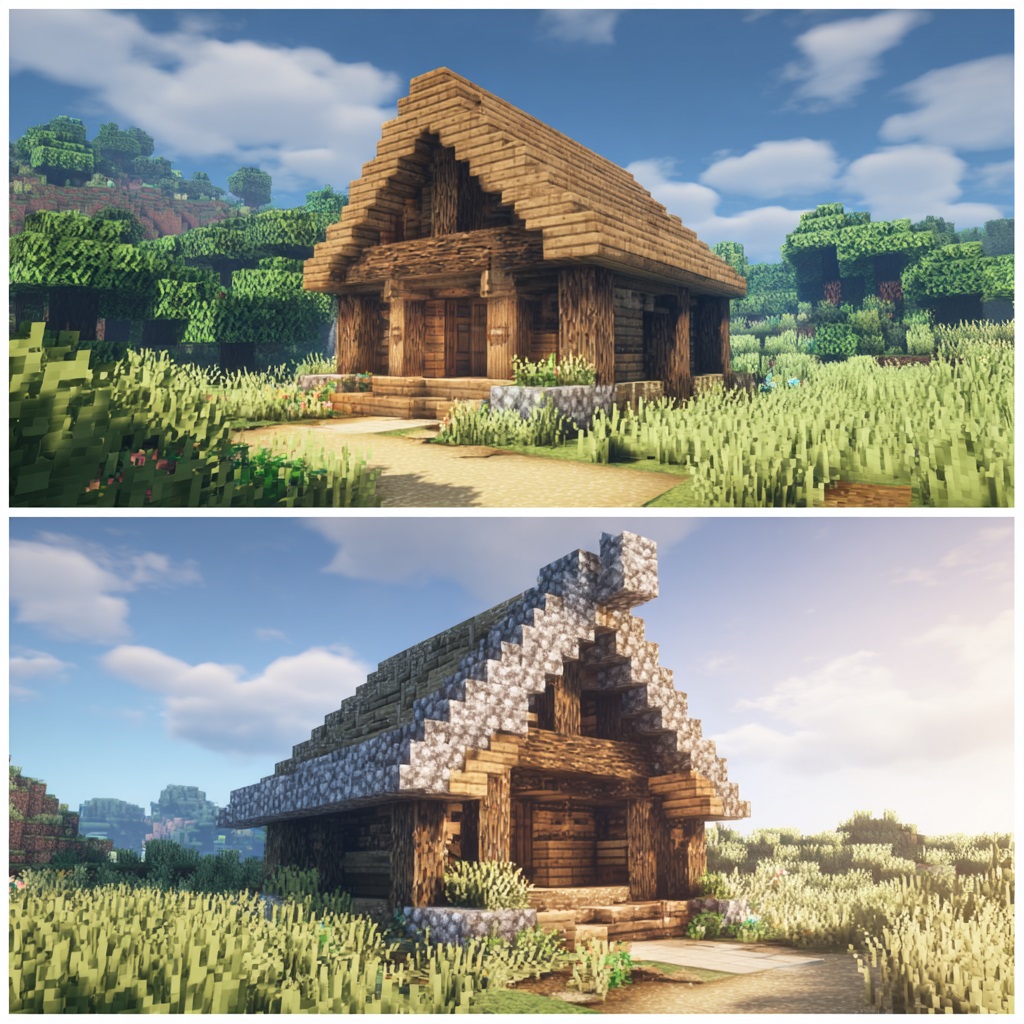
Option 2: Slanted Stair Roof (Better Design)
If you want your house to look more detailed, you can build a slanted roof using wooden stairs.
To create this style:
- Place wooden stairs along the top edge of one wall.
- Continue placing stairs upward toward the center of the roof.
- Repeat the same process from the opposite side.
- The stairs will meet in the middle, forming a triangular roof shape.
This design makes your house look more like a traditional home and adds more visual depth to the structure.
Although it requires a few extra materials, the slanted roof is one of the most popular roof styles for starter houses.
Step 6: Add Interior Essentials
Once the structure of your house is finished, it’s time to turn it into a functional base. A good starter house should contain the most important survival items you’ll need during your early adventures.
These items allow you to craft tools, store resources, cook food, and safely pass the night.
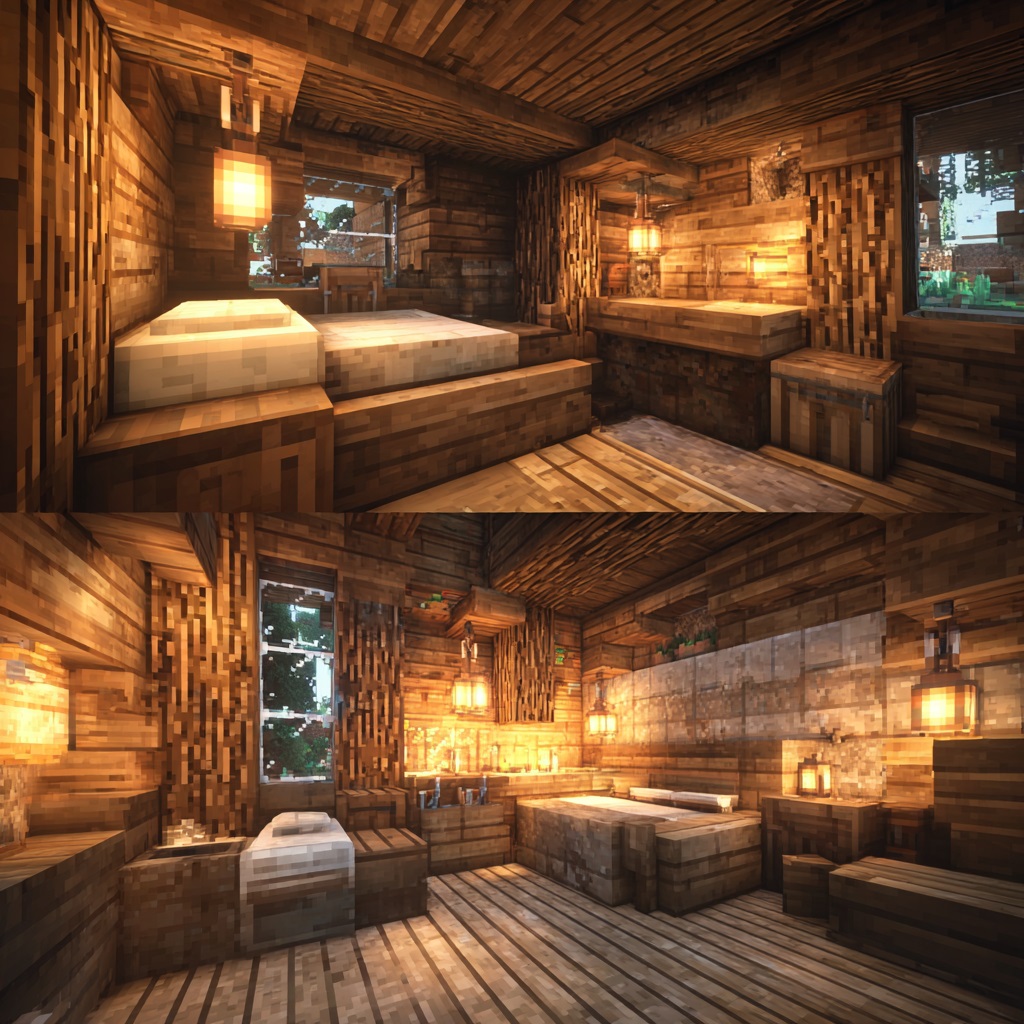
Important Items to Place Inside
Bed
A bed is one of the most important items in your house. Sleeping in a bed allows you to skip the night and avoid fighting mobs. It also sets your spawn point, meaning you will respawn at your house if you die.
Crafting Table
The crafting table allows you to craft more advanced items using a 3×3 crafting grid. Keeping it inside your house makes it easy to craft tools, weapons, and building materials whenever you need them.
Furnace
The furnace is used to cook food and smelt materials such as iron, gold, and sand. Cooking food helps restore hunger faster, and smelting resources allows you to craft stronger tools and armor.
Chest
As you explore your world, you’ll collect many items. A chest gives you a place to store these materials safely and helps keep your inventory organized.
Torches or Lanterns
Lighting inside your house prevents mobs from spawning and keeps the interior bright during the night. Torches are easy to craft early in the game, while lanterns can be used later for a more decorative look.
Arranging these items neatly around the walls will give you plenty of space to move around while still keeping everything within reach.
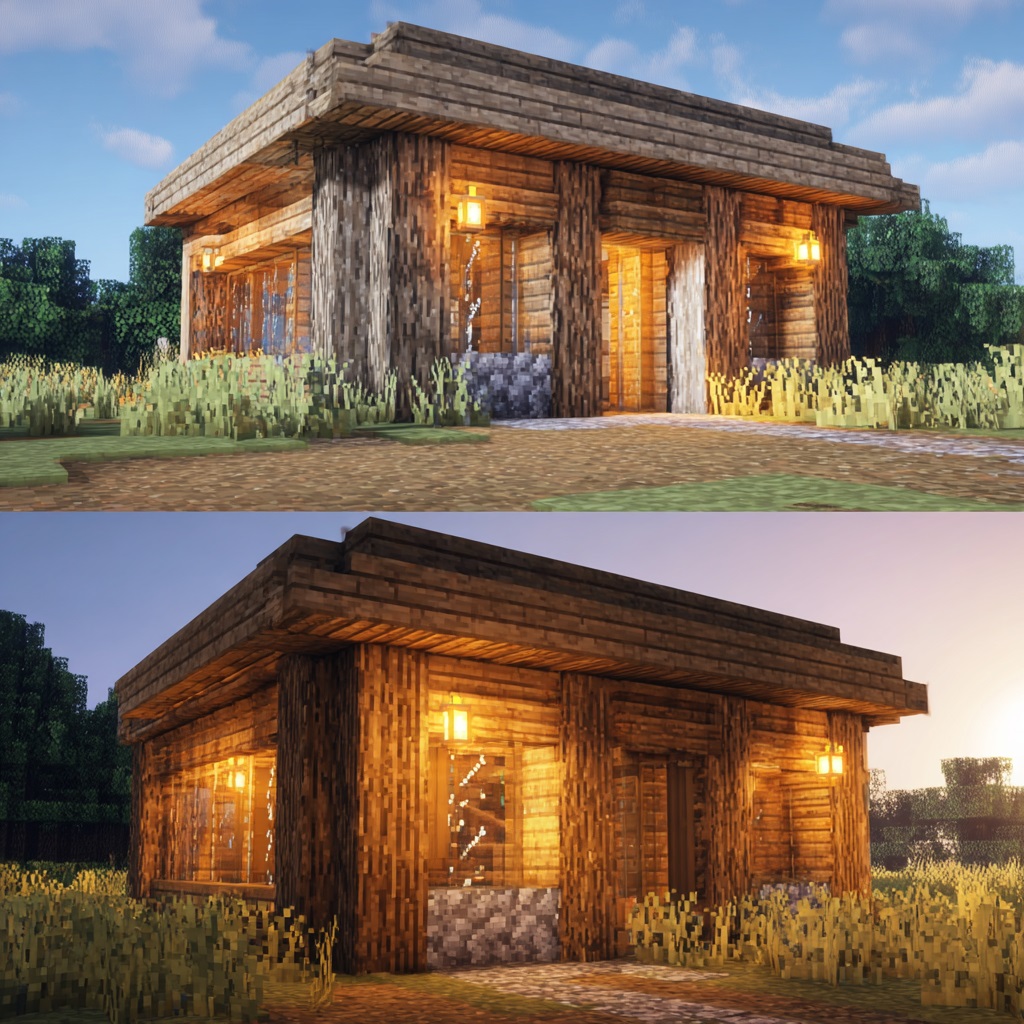
Step 7: Decorate the Outside
Your starter house is now complete, but adding a few decorative features can make it look even better. While these additions are optional, they can make your base feel more like a real home.
Decorating the area around your house also helps organize your base and prepare it for future expansion.
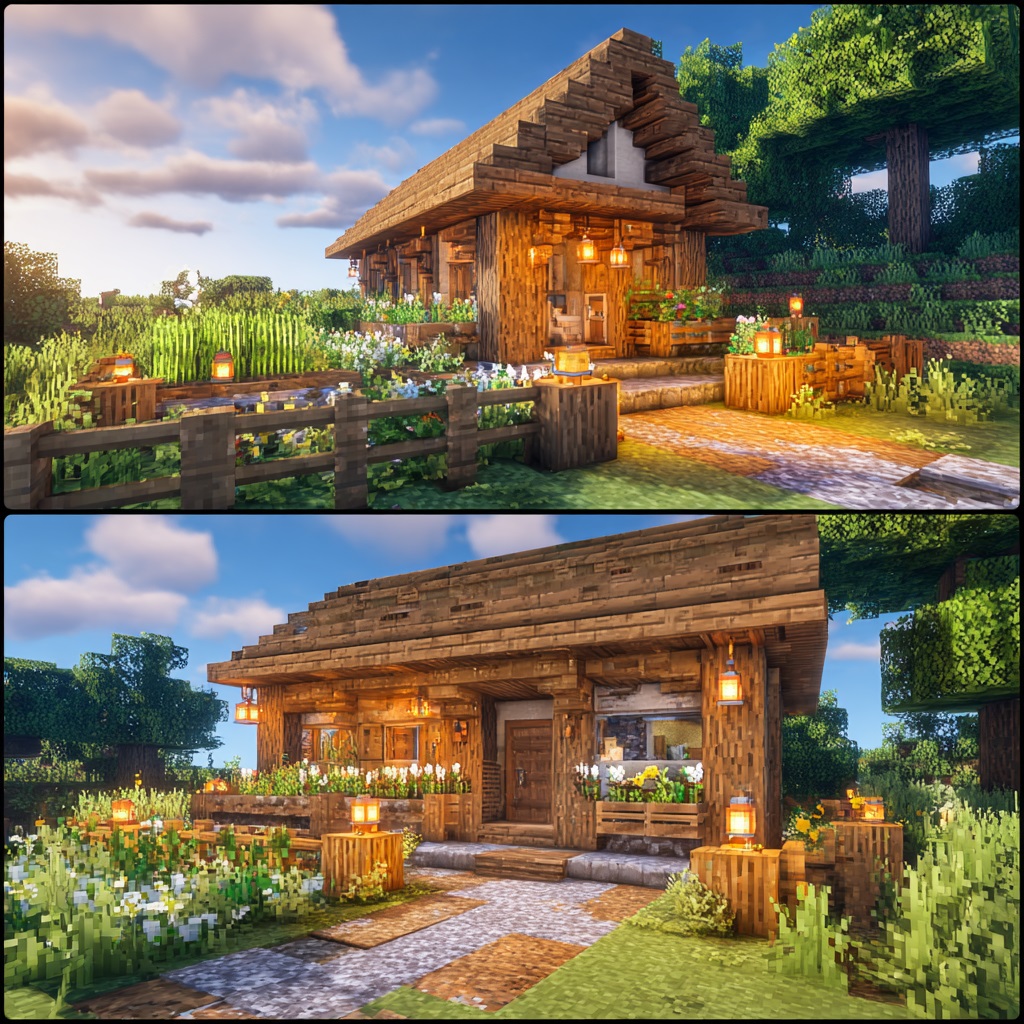
Optional Improvements
Add fences around the house
Placing fences around your house creates a small yard. This can help keep animals nearby and gives your base a more structured appearance.
Build a small farm
Farming is one of the best ways to create a reliable food supply. Near your house, you can plant crops like wheat, carrots, or potatoes. Just remember that crops grow faster when planted near water.
Place lanterns or torches outside
Lighting the area around your house helps prevent hostile mobs from spawning nearby. Place torches along the ground or lanterns on posts to keep your surroundings well-lit.
Add flowers or paths
Small details like flowers, grass decorations, or paths made from gravel or stone can make your base look more polished. Paths leading to your door also help define the entrance of your house.
With these improvements, your starter house will not only protect you from danger but also serve as a comfortable and organized base as you continue your adventure in Minecraft.
Building a starter house is one of the most important steps when beginning a new world in Minecraft. With a safe place to sleep, store items, and craft tools, surviving the early game becomes much easier.
By following these simple steps—choosing a good location, building a foundation, constructing walls, adding a roof, and placing essential items—you can create a reliable base before the first night arrives.
Once your starter house is finished, you can continue expanding it, decorating it, and turning it into a much larger home as your world grows.
Happy building and good luck surviving your first nights in Minecraft!
This post walks you through How to build a Minecraft Starter house step by step.
More posts to explore from Pixels and Bloom
10 common beginner mistake in Minecraft starter house
35 Minecraft tools every player needs
35 Minecraft houses ideas every player should try
51 Minecraft house ideas for your next survival world
27 cute Minecraft houses that look absolutely adorable
25 Cottagecore Minecraft house ideas for cozy builds
33 Minecraft forest house ideas for nature lovers
25 Minecraft cabin ideas for survival mode
25 Fairycore Minecraft build that looks magical